Heat-molding cycling shoes: the simple, science-backed way to a pro fit
Heat molding cycling shoes: CarbonShell™ guide
If you’ve ever stepped off the bike with numb toes, a hot spot on the outside of your foot, or that wobbly heel-slip feeling—good news: you can fix most of it at home. Heat-molding has been standard practice in speedskating for more than 30 years; we’ve brought that know-how to triathlon with CarbonShell™ shoes. Follow a few clear steps and you’ll dial in a snug, pressure-free fit that holds power all the way to T2.
CarbonShell™ vs traditional cycling shoes: why thermo-molding matters.
Why heat-molding works
Your foot isn’t a block of wood. It’s a flexible structure—26 bones and more than 30 joints—that changes shape under load. When you stand and shift weight forward (as you do on the bike), the arch lowers, your ankle moves forward, and the foot lengthens a few millimeters. We use that natural, inside-out pressure to teach the shoe where to make space and where to hold you steady. Layering sports tape on a bony spot (or adding a thin foam pad cut from a mouse pad) simply magnifies that pressure so the warmed shell relaxes in exactly the right place.
Why CarbonShell™ stands out
Most cycling shoes only let you mold the upper (if at all). CarbonShell™ shoes let you make targeted, reversible adjustments to the carbon shell itself—think millimeters for comfort, stability, and power transfer. You can tighten the heel cup for zero lift, ease the navicular or the base of the 5th met head, or open the toe box slightly—without compromising the rest of the fit. The result is a shoe that feels custom, rides locked-in, and stays comfortable when the watts get spicy.

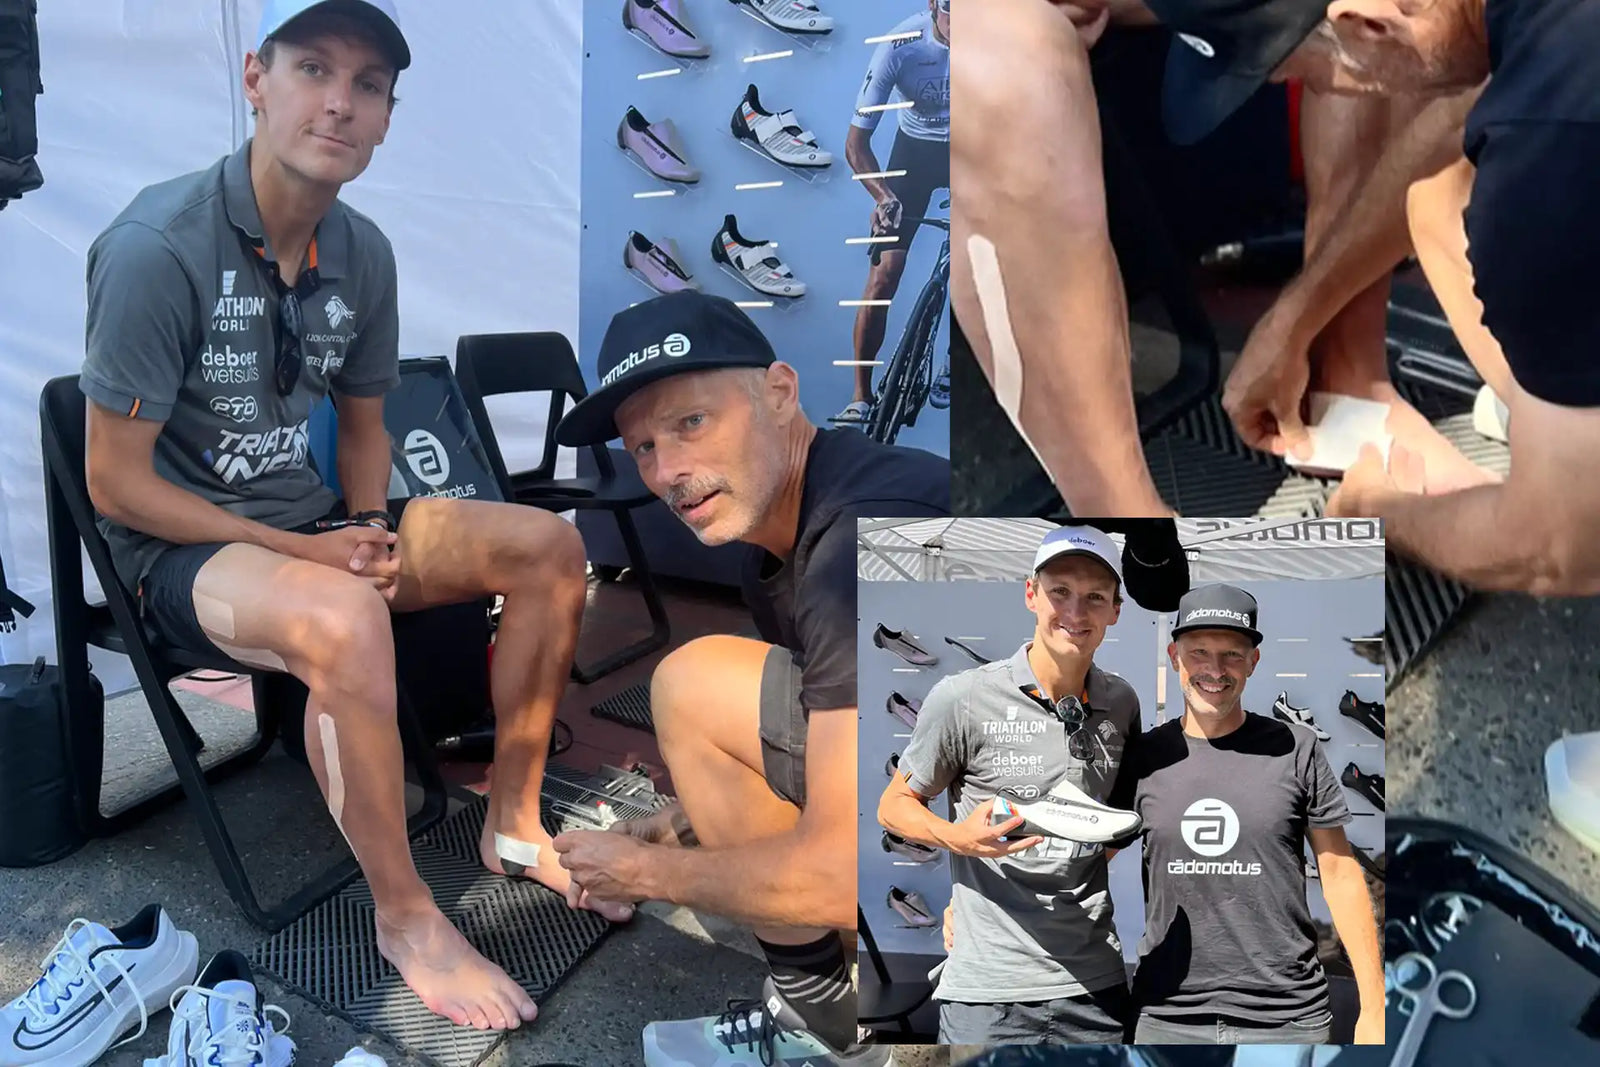
Menno Koolhaas T100 London 2025 (Image courtesy of PTO T100)
Two easy ways to heat-mold
1) How to heat mold cycling shoes with a heat gun (precision mode)
Best for local tweaks—navicular relief, outer foot bumps, toe-box space, or arch “lip” adjustments. Warm from ~30 cm away on low–medium, keep the gun moving, aim for ~70–80 °C (160–180 °F) at the spot, then press from the inside with a rounded tool while it cools. Think millimeters, not centimeters.
Handy household formers:
- Wooden spoon or ladle handle
- Small wrapped socket (10–13 mm)
- Deodorant stick (rounded end)
- Golf or squash ball
- Rounded end of a mini pump (wrapped)
2) How to heat mold cycling shoes in the oven (global fit)
Best for overall shaping and heel-cup tightening. Use a fan-assisted electric oven at ~70 °C / 160 °F for 8–12 minutes (remove insoles; keep shoes away from heating elements). Step in, center your weight on the forefoot, and—if you’re tightening the heel—have a helper squeeze the medial/lateral walls just above the heel bone for 3–4 minutes while it cools.
Important order: if you plan to use both methods, go oven first, then heat gun. A full oven warm-up returns the shoe close to its neutral shape and can relax earlier local tweaks, so finish with the precise stuff.
Inside-out pressure technique for hotspot relief.
Your secret weapon
Whether you’re relieving the inside ankle (navicular) or the outside (base of the 5th met), build the “bump” on your foot with 5–10 layers of sports tape (or tape a small oval of mouse-pad foam, ~3–6 mm). Warm the matching area on the shoe, reinsert the insole, step in, stand on one leg, and shift weight to the ball of the foot—right where the pedal axle loads in real riding. Hold for 3–4 minutes as it cools, remove the tape, test, and repeat in small steps if needed.
Common goals, quick outlines
Common fit fixes: heel cup, navicular, base of 5th met, toe box
- Tighter heel lock: Oven warm, then seated with one leg straight and toes up, have a helper support the back of the shoe on their fingers and squeeze the heel cup walls with their palms (just below the ankle bones). Hold 3–4 minutes.
- Outside-foot or inside-ankle hot spot: Tape the bone (5–10 layers), local heat with a gun, step in, load the forefoot on one leg, hold while it sets, remove tape, retest.
- Roomier toe box: Local heat, press a rounded former from the inside to create a smooth, gentle bulge; hold while it cools.
- Lower/softer arch lip for flat feet: Local heat at the inner arch; press the carbon edge outward 1–2 mm along 5–7 cm for a smooth curve (no sharp kinks). Consider a temporary foam strip on the carbon edge while molding for extra inside-out pressure.
Safety basics (keep it mellow)
- Temperatures: ~80 °C / 180 °F in the oven; ~70–80 °C (160–180 °F) for local work; stay below ~80 °C / 180 °F to protect adhesives and finishes.
- Heat source: keep the gun ~30 cm away and always moving; avoid BOA dials, seams, decals, and zippers.
- Progress: work in millimeters; small, repeatable changes beat one aggressive push.
- Aftercare: re-check cleat bolts—their threadlock can soften a touch with heat.
Tools: you probably already own what you need
Household items for heat molding cycling shoes
No workshop required. Smooth, rounded household items make excellent formers: golf/squash ball, deodorant stick, wrapped socket (10–13 mm), wooden spoon/ladle handle, mini-pump end, adjustable shoe tree (bonus if it has bunion plugs). To hold shapes while cooling, use rolled textiles (microfiber cloth, small towel) rather than plastics.
Putting it all together
Heat molding order of operations: oven first, then heat gun
- Decide if the issue is global (overall wrap, heel hold) or local (one bony spot).
- If doing both: oven first, then heat-gun fine-tuning.
- Create inside-out pressure with tape or a thin foam pad; stand on one leg and load the forefoot while it cools.
- Test, ride, adjust in small steps.
Want the exact how-to for each scenario?
We’ve summarized every step—temperatures, tools, and techniques—in our Heat-Molding Instructions, including FAQ (arch relief, toe-box widening, heel-cup tightening, order of operations, and more). Start there, follow the playbook, and enjoy that “click” of perfect fit.
These methods are designed for CarbonShell™ shoes and—done correctly—are repeatable and reversible. If you need surgical precision or more than a few millimeters of change, a professional fitter can “punch” the area with dedicated tools.